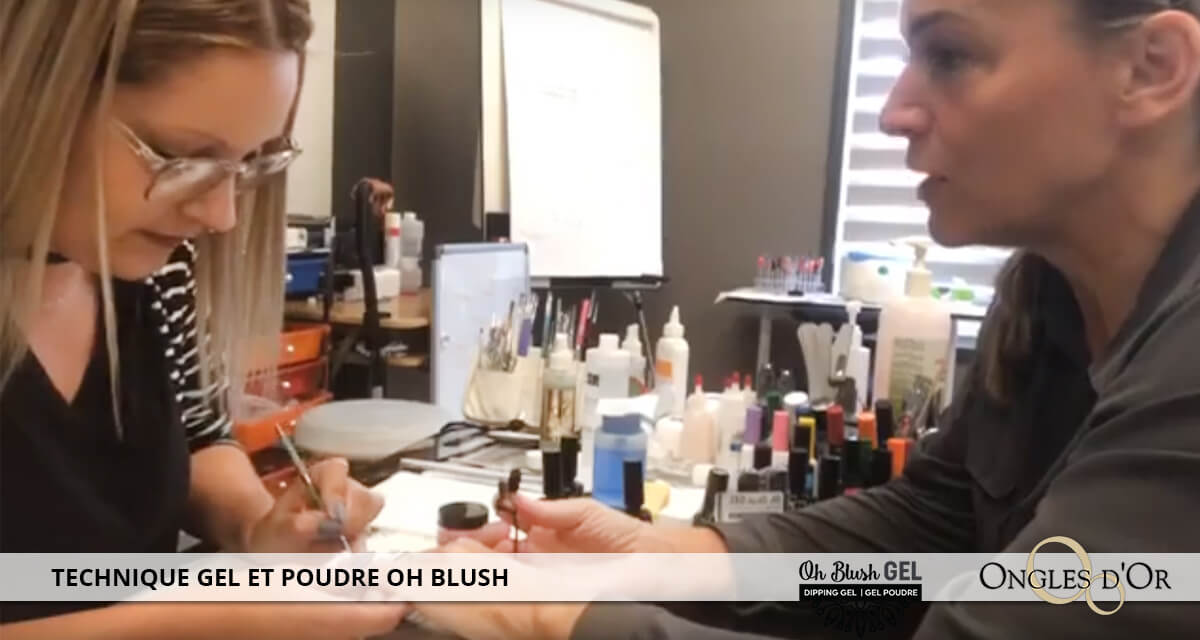
In this live cast on October 10, in collaboration with Josée Turmel, Valérie explains the Oh Blush gel and powder technique. Josée asks all the questions that could ask neophyte girls who have never done a nail enhancement. A perfect video if you hesitate to make false nails or if you want to learn how to do them yourself.
What is the Gel and Powder technique?
It is a technique more and more used, less allergenic than other nail techniques because it does not emit any odor. The gel and powder technique is quite simple to do, even without being a nail technician, which consists in using a gel and a colored powder to make the nail more resistant and have a nice manicure that will last longer than a simple nail polish. This technique can be used on very short nails, even without nail tips. If your nails are short, brittle, soft, it is a very good technique to have beautiful nails easily without damaging them. You can use almost all powders and therefore have an infinite number of colors. It is not at all compulsory to put a nail tip with this technique. Oh Blush Gel are high quality products made in Québec, Canada, without MMA.
How to apply Oh Blush Gel and Powder
- Prepare your nails according to the nail preparation technique: push back the cuticles, redo the shape of the nail, pass a light yellow buffer block to remove the shine of the nail and soften the streaks. We are not trying to thin the nail.
- Apply the Nail Prep, it will help hold the products. Please note, it remains effective for approximately 15 minutes. So do not do all your fingers at once, you will have to start again.
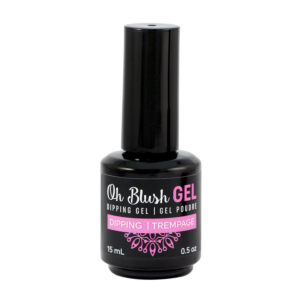
- Apply a very thin layer of Oh Blush gel, it is a base, so no other products are needed.
- Sprinkle the powder on your gel. The powder is the color, so there will be no nail polish added. The gel is thicker than the resin, you must put powder as long as the gel absorbs your powder.
- Remove the excess with a dusting brush (large brush) and cure for 1 minute under an LED lamp.
- You can obviously make the 4 nails then pass them all together under the lamp.
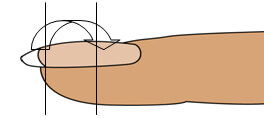
- Apply a second layer of gel + powder, then make your stress point: apply a little clear powder (transparent) at the stress point then cover with gel and cure the nail for 1 minute.

- For longer nails, repeat the stress point step several times, with half-curing of 30 seconds on each layer, until a nice domed finish is obtained.
- Remove the sticky effect with 99.9% alcohol
- File your nail with a file or block to improve the shape of the nail and allow the finish to adhere well.
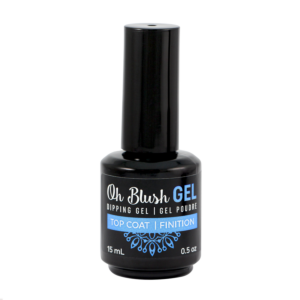
- Apply the finish, mat or glossy and cure for 30 seconds.
Valérie's tips
- For the first layer, put only one gel layer before curing to avoid color changes: 1 layer of gel + powder + lamp.
- The gel layer must be very thin and do not forget to dust off the excess powder before curing to avoid the coating being too thick.
- Reinforce the stress point (the domed) to solidify the nail: powder on the stress point + gel + cure or half-curing if you redo several times your stess point.
- It is better to make several very thin layers, than a single layer that is too thick.


